This tut is 100% my creation. It was wrote on May 5, 2011 any resemblance to another tut is purely by accident. I am using the wonderful artwork of Ismael Rac. Please do NOT use the same tube without the proper License. You can purchase his artwork
HERE!Supplies Needed:
Regular sized Tube of Choice
Close-up Tub of Choice
Font of Choice
Plugins Needed:
Neu! 0. Excentrico
DSB Flux- Bright Noise
Eye Candy 4000- Gradient Glow
Ok Let's get started.
Open a 600 x 250 canvas and then go to effects/plugins/neu!/0.excentrico! and use these settings:
random 1: 218
random 2: 86
zoom (radial only): 23
spokes (off = 0): 0
preserve: 0
absolute: 50
Ok now here's the thing. We are going to have a total of 6 layers. Add a new raster layer and repeat the above step except change absolute to 100. Repeat this until you have a total of 6 layers with the last layer having an absolute of 250. Rename these layers as you go from ani 1- ani 6. Now colorize each layer to a color that either matches your tube or accents your tube.
Add a new raster layer and flood fill with blac. Now drag it down below all 6 layers to the bottom. Go to effects/dsb flux/bright noise with an intensity of 15 and direction set to mix.
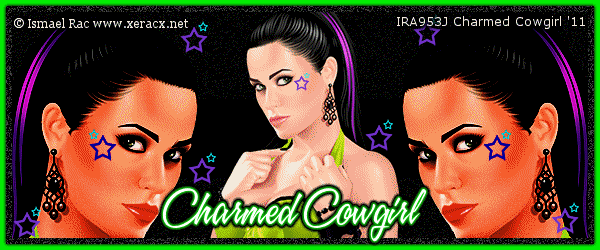
Now open your tube close up then copy and paste as a new layer. Place on the right hand side then duplicate your tube. Go to image/mirror now merge down your 2 close up tubes then change the blend mode to hard light. Ok now using your rectangle tool draw out a black rectangle so it is behind the eyes of your tubes. Drag under your tubes.
Now using your regular sized tube copy and paste as a new layer and position in the middle between the 2 close up tubes. Now add any embelishments you want. I'm using the stars that are on the face of the tube I am using.
Add your copyright information and apply a slight gradient glow so it stands out. Also now add your name in a font of choice.
Ok now to animate.
Make sure all layers named ani are closed off except the one named ani 1. Now copy merged and paste into animation shop as a new animation. Now back to psp close off ani 1 and unhide ani 2 then copy merged. Back in animation shop right click on your 1st frame and go to paste after current frame. Now repeat this step for the other 4 ani layers. You should now have a total of 6 frames in animation shop. Now hit ctrl a to select all then hit alt enter to change the display time to 50.
Now save and you are done.


